Thursday, April 28, 2011

Apt528 Giveaway!!!

Happy 28 Day!  Today, we're giving away awesome products from the Apartment 528 Store.  Enter now to win one of the following products:


To enter, choose one (or more!) of the following options:
  1. Comment below telling us which of the above products you'd like to win.  Each comment counts as one entry.
  2. Tweet us at @apt528 telling us which of the above products you'd like to win.  Each tweet counts as 2 entries.
  3. Like us on facebook and leave a comment on our facebook page telling us which of the above products you'd like to win.  Each facebook comment counts as 3 entries.
Make sure to leave your email address so I can contact you if you win!

The contest ends at 12NOON (central time) Friday afternoon.  A winner will be chosen at random and announced tomorrow afternoon.  Enter as many times as you want!!  

And as always, take 28% off all vintage items, today only!  Enter VNTG28 at checkout.

Tuesday, April 26, 2011

We're going to the Vintage Bazaar! With Furniture!!

I have exciting news to share today.  Apartment 528 will be making its Chicago debut as a vendor at The Vintage Bazaar May 14th!  The bazaar is the brainchild of Katherine and Libby, two of the awesomest vintage seekers you'll ever meet.  I heard about The Vintage Bazaar last year while living in Boston and was a volunteer for the August bazaar right after our move to Chicago.  Now I'm super thrilled to be a vendor.


The bazaar is host to dozens of vintage shops peddling everything from retro garb to funky home pieces.  To keep your stomach full while you dig through vintage goodness, Goose Island will be providing the adult beverages and Bleeding Heart Bakery will bring the cavity-inducing treats.

Last year's bazaar.  They're expecting a few thousand people again so be there early to get all the good stuff.

What will Apartment 528 have at the bazaar?  Well, in addition to the great vintage items already available in the Apartment 528 Store, you'll also finds tons of stuff I've been holding back. 

More importantly, you'll also get to see our new furniture line.  That's right, Apartment 528's getting into the furniture business, just one of many exciting new ventures coming in the next few months!!!  As we get closer to the date of the bazaar, I'll post more pictures of the vintage finds you'll be able to purchase at the bazaar.  Keep your eyes peeled!

Follow The Vintage Bazaar on Facebook: http://www.facebook.com/vintagebazaar

Monday, April 25, 2011

In the Kitchen: S'mores in a Jar

It's Monday and it's raining.  Blah!  But don't fret, I have a way to cheer things up.

S'mores in a jar.


Yes, in a jar.  After seeing pictures of the yummy desert on Pinterest, I had to check it out.  Jessica, creator of said s'mores delight, is the blogger behind How Sweet It Is and quite possibly the most amazing person on earth.  Her blog is full of UNBELIEVEALE treats like cookie dough dip (why didn't someone think of this sooner!?), cinnamon rolls stuffed with cookie dough, and cake batter cinnamon rolls.  Of course there are tons of other things on her blog that have nothing to do with cinnamon rolls and cookie dough, but I chose to ignore them!

Anyways, back to the s'mores.  S'mores in a jar are super easy to make.  It's graham crack crust with chocolate cake and marshmallows!  Jessica makes her cake batter from scratch but I'm all about doing things the lazy way so I used a box of Duncan Hines.  My modified version is below.  For the official recipe, head over to How Sweet It Is.


S’mores in a Jar (my lazy version, adapted from How Sweet It Is' S'mores Cake in a Jar recipe)
makes (4) 1-pint mason jar servings
  • 1 1/2 cups graham cracker crumbs (about one sleeve of crackers)
  • 1/2 stick butter
  • sprinkle of salt
  • chocolate cake mix (I used chocolate fudge mix)
  • 1 bag large marshmallows
1. Preheat oven to 350 degrees.

2. Melt butter and add in graham crumbs and salt. Mix until moist. Spray 4 mason jars with non-stick spray and press graham crust into jars, dividing equally until crumbs are gone. They don’t need to look perfect. I used a small juice glass to press the crumbs firmly into the bottom of the jars.

3. Make cake mix and pour about 1/2 cup into each jar, making sure you don't fill them over half full, otherwise you'll have no room for marshmallows once the cake rises.  You'll have batter left over so either make more s'mores or turn them into something else yummy like cupcakes!

4. Put the jars in a cake pan with 1 1/2 cups of water at the bottom to keep the jars from shattering. Bake for about 30 minutes.

5. Take the jars out of the oven and add marshmallows on top. We used mini marshmallows because we already had them in the fridge. It's all up to you.   Just remember, the jars are HOT! Turn on your oven broiler and put the jars back in the oven for about 1 or 2 minutes. Make sure to watch super carefully...the marshmallows will melt fast! Heat until the marshmallows are nice and golden.

6. Stuff your face :)

They can get kind of messy so we used long sundae spoons to eat ours! May I tell you, these are DELICIOUS!! I'm positive they serve smores in a jar in heaven. I'm also positive I gained about 10lbs after eating one! The next time we make them, I'm adding strawberries under the marshmallows. I think the fruit will be the perfect addition. My husband wants an extra layer of graham crackers and maybe some peanut butter. The possibilites are endless!

Thursday, April 21, 2011

Settling in and Getting Tanked

So we found an apartment and got moved in less than a week!  As I mentioned before, we had to be out of our last apartment super quick but were having a hard time finding something that was a good mix of location, space, and price.  Just when we were beginning to give up hope, we found our new apartment just TWO BLOCKS away.  What a short move!  With the new apartment so close, we were able to skip the Uhaul and drive our stuff over in our SUV.  We even walked a few things here...it's just a three minute walk!

The new place is quite small compared to our last apartment (1000sq ft smaller to be exact!) but it's super cute, has vintage charm with modern updates, and is perfect for us!  Downsizing hasn't been easy, lots of our furniture will end up on craigslist, but it feels good to finally be in an apartment that we love and can see ourselves staying in for a couple of years.  To make things extra awesome, the landlord has a panel saw in the garage.  I might live here forever!

The hardest part of the move was getting the 500lbs. vintage tanker desk I so lovingly restored from one apartment to another.  We ended up knocking a whole in the wall trying to get it upstairs.  When I said "up" I meant straight up while Jerome thought I meant forward.  Apparently communication is key when moving large objects!  So is mind power...after knocking the whole in the wall, we realized we could just take the desk out the back door and have only five stairs to deal with.  Oops.

Uh oh!

Though I didn't have time to snap pics of the rest of the house before we moved our stuff in, I did take some quick pics of my prized desk so you could see it before it was covered in junk!

Before: Relatively good condition with minor rust, though the grey painted finish was gone in many spots.

After: I LOVE the color!  The yellow is actually a little deeper in person.

The left cabinet has a pull out typewriter stand that I use for my printer.  Above the three right drawers is a pull out tray.

It took me about two weeks to refinish the desk but it was worth it.  When restoring a tanker desk, they tell you to treat it like a car.  Most people take them to auto body shops and have the desks professionally sandblasted and painted.  Unfortunately that wasn't in my budget which meant a lot of time spent reading car forums, getting materials at Pepboys, and a lot of sanding, painting, and wetsanding down to a perfect finish before waxing and polishing.  Talk about tedious!  I loved the outcome so much I'd happily do it all over!

This weekend, I'll post links to the helpful websites and forums that will guide you through a tanker desk DIY in no time!  Stay tuned :)

Wednesday, April 6, 2011

Apartment Wanted: Vintage Living

So we're moving.  Again.  I know what you're thinking...three moves in a year, we must be crazy!  First was the big move from Boston go Chicago.  We moved into a gorgeous apartment that I loved!  Then came the disgusting centipede invasion that had us moving out of our first Chicago apartment just 3 weeks after moving in.  That's how we ended up at our current place, which I was just beginning to decorate.  It's huge with all the space we need, but we have a lot of changes coming up this summer which means it's time to move...again!  We're still on the hunt for the perfect place and hope to find it soon...we have to be out in a week!  Craziness, I know!

Our first Chicago apartment.  Absolutely GORGEOUS!  Darn those centipedes!


Our current apartment.  I'll miss the tall ceilings!

I'm so tired of apartment hunting, I thought I'd take a break to share this cute vintage apartment we found.  It's not the right place for us, but it's just SO adorable, I hope a true vintage lover gets it!  It's a 2bed 1bath in Irving Park with  big rooms, a pantry, and enclosed back porch.  It's the only apartment I've ever looked at where they kept so many of the details original to the house.  Someone get it quick!

Gorgeous foyer with the original door and wallpaper.  Score!

One whole wall in the foyer is made up of storage cabinets from floor to ceiling that open up to reveal various shelves and coat hooks.  The cutest storage idea ever.  Wish modern homes had these built-ins!

Living and dining rooms


Looking into the kitchen.  Love the dark wood doors.

The wall tiles have been painted an aqua/turquoise color and the floor tiles are super cute!


The ORIGINAL METAL CABINETS and counters!!!!!!  Oh, and in-unit washer and dryer.

Saved the best for last: they kept the ORIGINAL WALLPAPER in the hallway leading to the kitchen and back bedroom.  You should see how many pictures I took of this wall alone!  I almost cried when I saw this awesomeness.  Vintage wallpaper AND metal cabinets?  I'm pretty sure this is what heaven will be like :)

Interested?  Check out the full details here.
{images 3, 4, 6 via 4Sale Realty}

Friday, April 1, 2011

Apartment Security: The Little Things

So I know it's been awhile since I posted about home security but there are just a few extra things we've learned from our break-in that I wanted to share.

Serial Numbers and Receipts
When the police asked for the serial numbers of our TV, laptop, and xbox, we had no clue!  Even if they had recovered our stuff, they wouldn't have been able to verify that it was ours!  That's why it's super important to write down the serial numbers of all your electronics and keep receipts from big purchases.  Store your receipts and list of serial numbers in a fireproof safe (read below), give a copy to your parents (or another super trustworthy person) to keep in their files, create a file that you store on a backup hard drive, or upload them to a cloud storage site that you can log in to and access from any computer.  Not only will the serial numbers help the police identify your stuff if it's found, but the insurance companies will want them in case of fire, theft, flood, etc.

SentrySafe 500 FIRE-SAFE Box, 0.15 Cubic Feet, BlackFire Safes
Get a fire safe.  Fire safes are a great way to lock up valuables and keep them secure in the event of an emergency.  Keep your social security card, birth certificate, important legal docs, and expensive jewelry in the safe and also scan them into the computer and store them on a cloud storage/backup site.  Small fire safes are inexpensive and go for about $20 on Amazon.

Hide Your Stuff
Thieves aren't stupid.  They know to check your top drawer for valuables and look on top of the fridge for your money jar.  That's why it's up to you to keep your stuff hidden.  Yes, that means don't keep your spare key over the door, or under a rock!  Get a fun stash box (love the Arizona Tea safe!) to camouflage jewelry and secret money stash, hide your fire safe in a completely out of site, and give your key to a best friend rather than leave it in some obvious place.
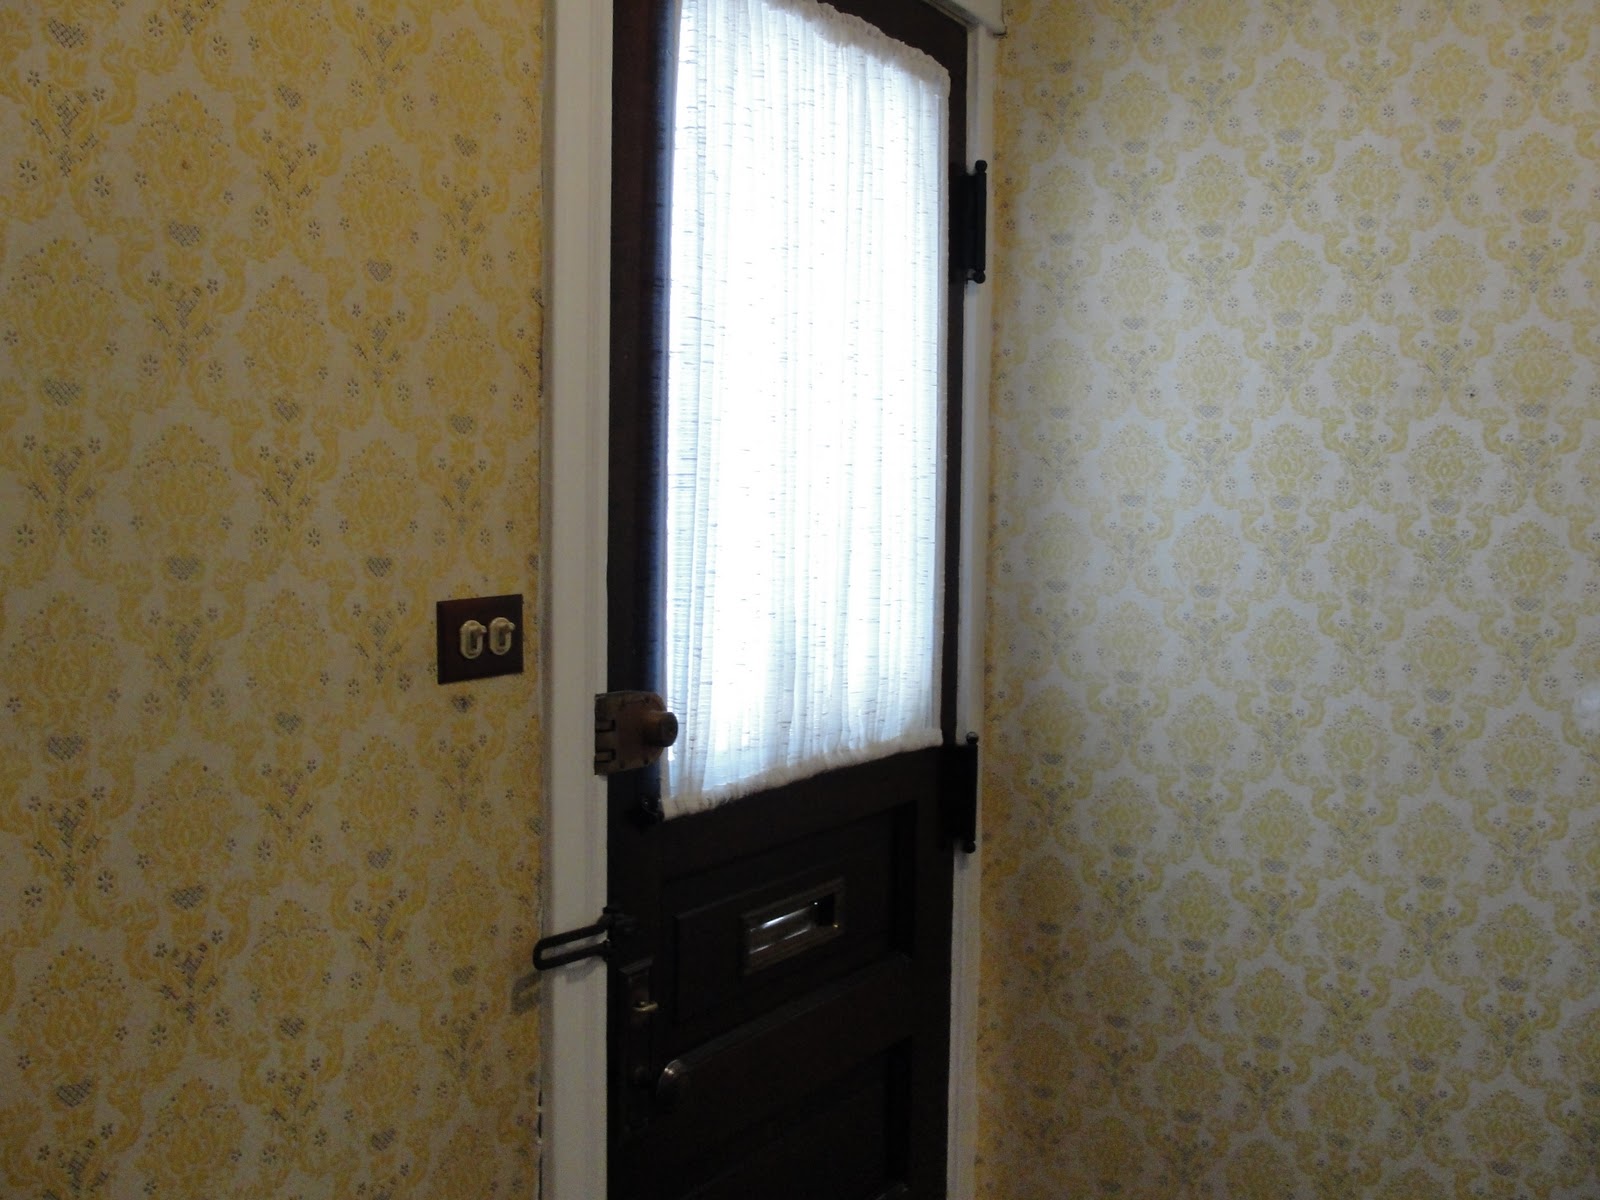
Locks
WD-40 11010 Lubricant, Aerosol Can, 3 Fluid Ounce, 2" OD, 1.75" LengthThe guys who robbed our apartment came in through the open gate in the back.  It was winter and the locks were frozen so neither us nor the neighbors locked the gate.  Major mistake.  To keep locks from sticking in cold weather, squeeze a little WD-40 inside and they'll easily open and close.  They also make weather-proof locks, though I found that they're not actually as weather-proof as they say so having the WD-40 on hand is a good idea.

Emergency Plan
In the horrible event that someone breaks-in when you're home, have an emergency plan on hand.  You should have a plan as to where to hide and which doors and windows are easily accessible. Yes, you may never use it but in the event something happens, you'll be darn glad you thought things out!

Like I've said in previous safety posts, none of these tips are meant to scare you or make you paranoid.  Just be smart about your stuff and don't do things that basically invite robbers to take advantage of you!

Keep safe!